custom paper sizes
preparing to print
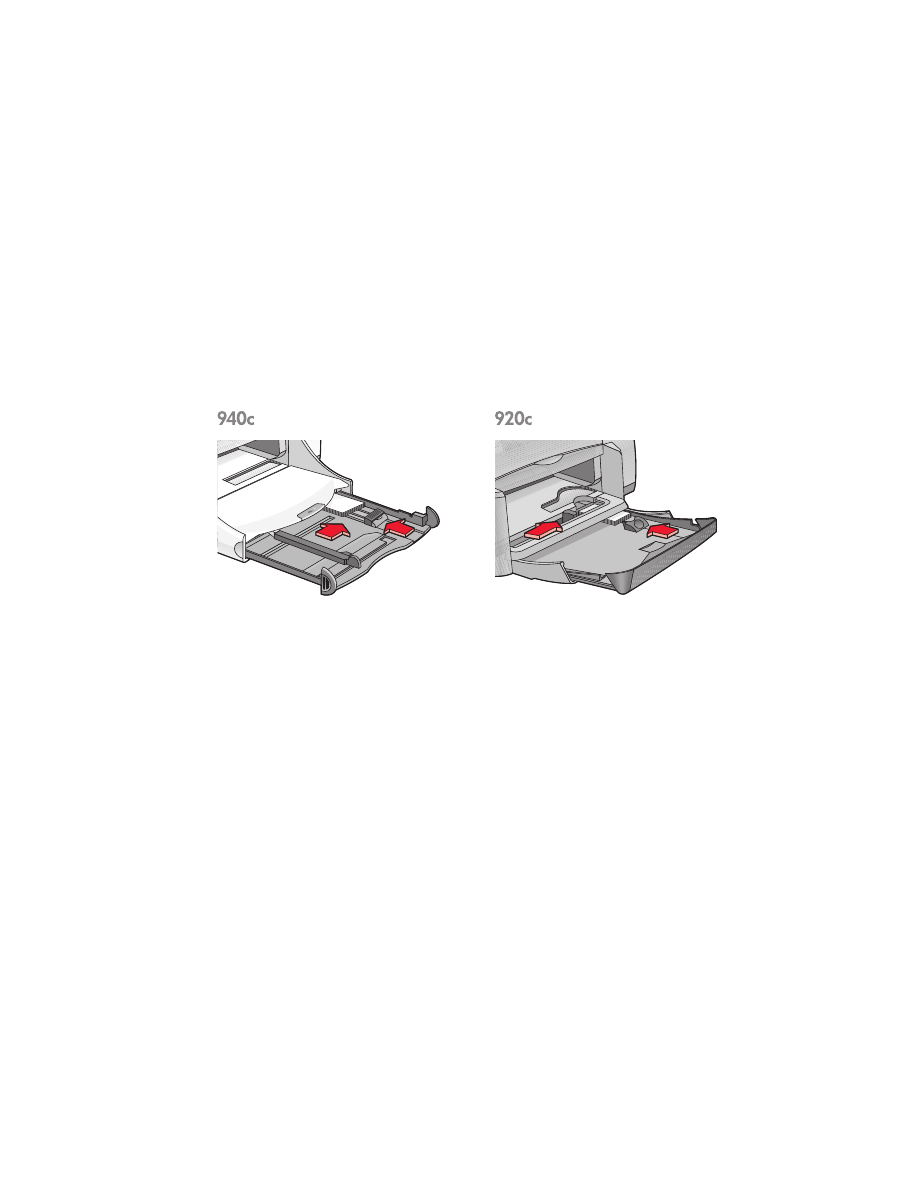
1.
Raise the Out tray to the up position.
2.
Put the paper or other media you want to print into the In tray, with the
printable side down.
3.
Push the paper forward until it stops.
4.
Slide the paper guides snugly against the edges of the media and push
in the In tray.
5.
Lower the Out tray.
defining a custom paper size
1.
Open the file you want to print.

54
2.
Follow one of these paths to select your print options, depending on the
software program you are using:
• Click
File
>
, then select
Properties
–or–
• Click
File
>
Print Setup
, then select
Properties
–or–
• Click
File
>
>
Setup
, then select
Properties
.
The printer properties box appears with Setup, Features, and Advanced
tab options.
3.
Select the
Setup
tab, then select
User Defined Paper Size
in the Paper Size
option.
The User Defined Paper Size dialog box appears.
4.
Select the width and length settings for your custom paper size.
Paper width must be between 77 and 215 mm (3 x 8.5 in). Paper length
must be between 127 and 356 mm (5 x 14 in).
5.
Click
OK
to return to the Setup screen.
6.
Click
Apply
, then click
OK
to accept the new settings.
7.
Click
OK
to print.
printing guidelines
• If the paper you are using is smaller than 100 x 148 mm (4 x 5.6 in),
do not use the In tray. Use the printer’s single envelope slot to load the
paper or other media one sheet at a time.
• Custom paper sizes cannot be used when you select poster or banner
printing.
See also:
printing posters
printing banners

55